Zapier : Integration for Xero and Salesforce
Overview
Zapier is a web-based tool that connects your favorite apps and automates your workflow. It creates “Zaps,” which are automated workflows that connect two or more apps without building the integration. Zaps starts with a trigger, an event in the first app that kicks off the workflow, and ends with an action, which is an event completed automatically in a second app. Automation includes cloud-based CRM software, online accounting software, social media, project management, note-taking, email, or meetings.
Video Guide for Zapier
Integrating Salesforce with Xero using Zapier
Here, we are going to implement the integration of Salesforce with Xero using Zapier. First, we will create a new Xero Contact from a Salesforce account, and then we will create a new Salesforce account from a Xero Contact. Below, you can find the step-by-step process for the implementation.
Note: Zapier does not currently support two-way syncing between apps. However, in certain scenarios, you can simulate two-way syncing by setting up two different Zaps that perform opposite actions. For example, you could have one Zap that creates a Xero Contact from a Salesforce account and another that creates a new account from a Xero Contact.
Step 1 – Create a New Zap
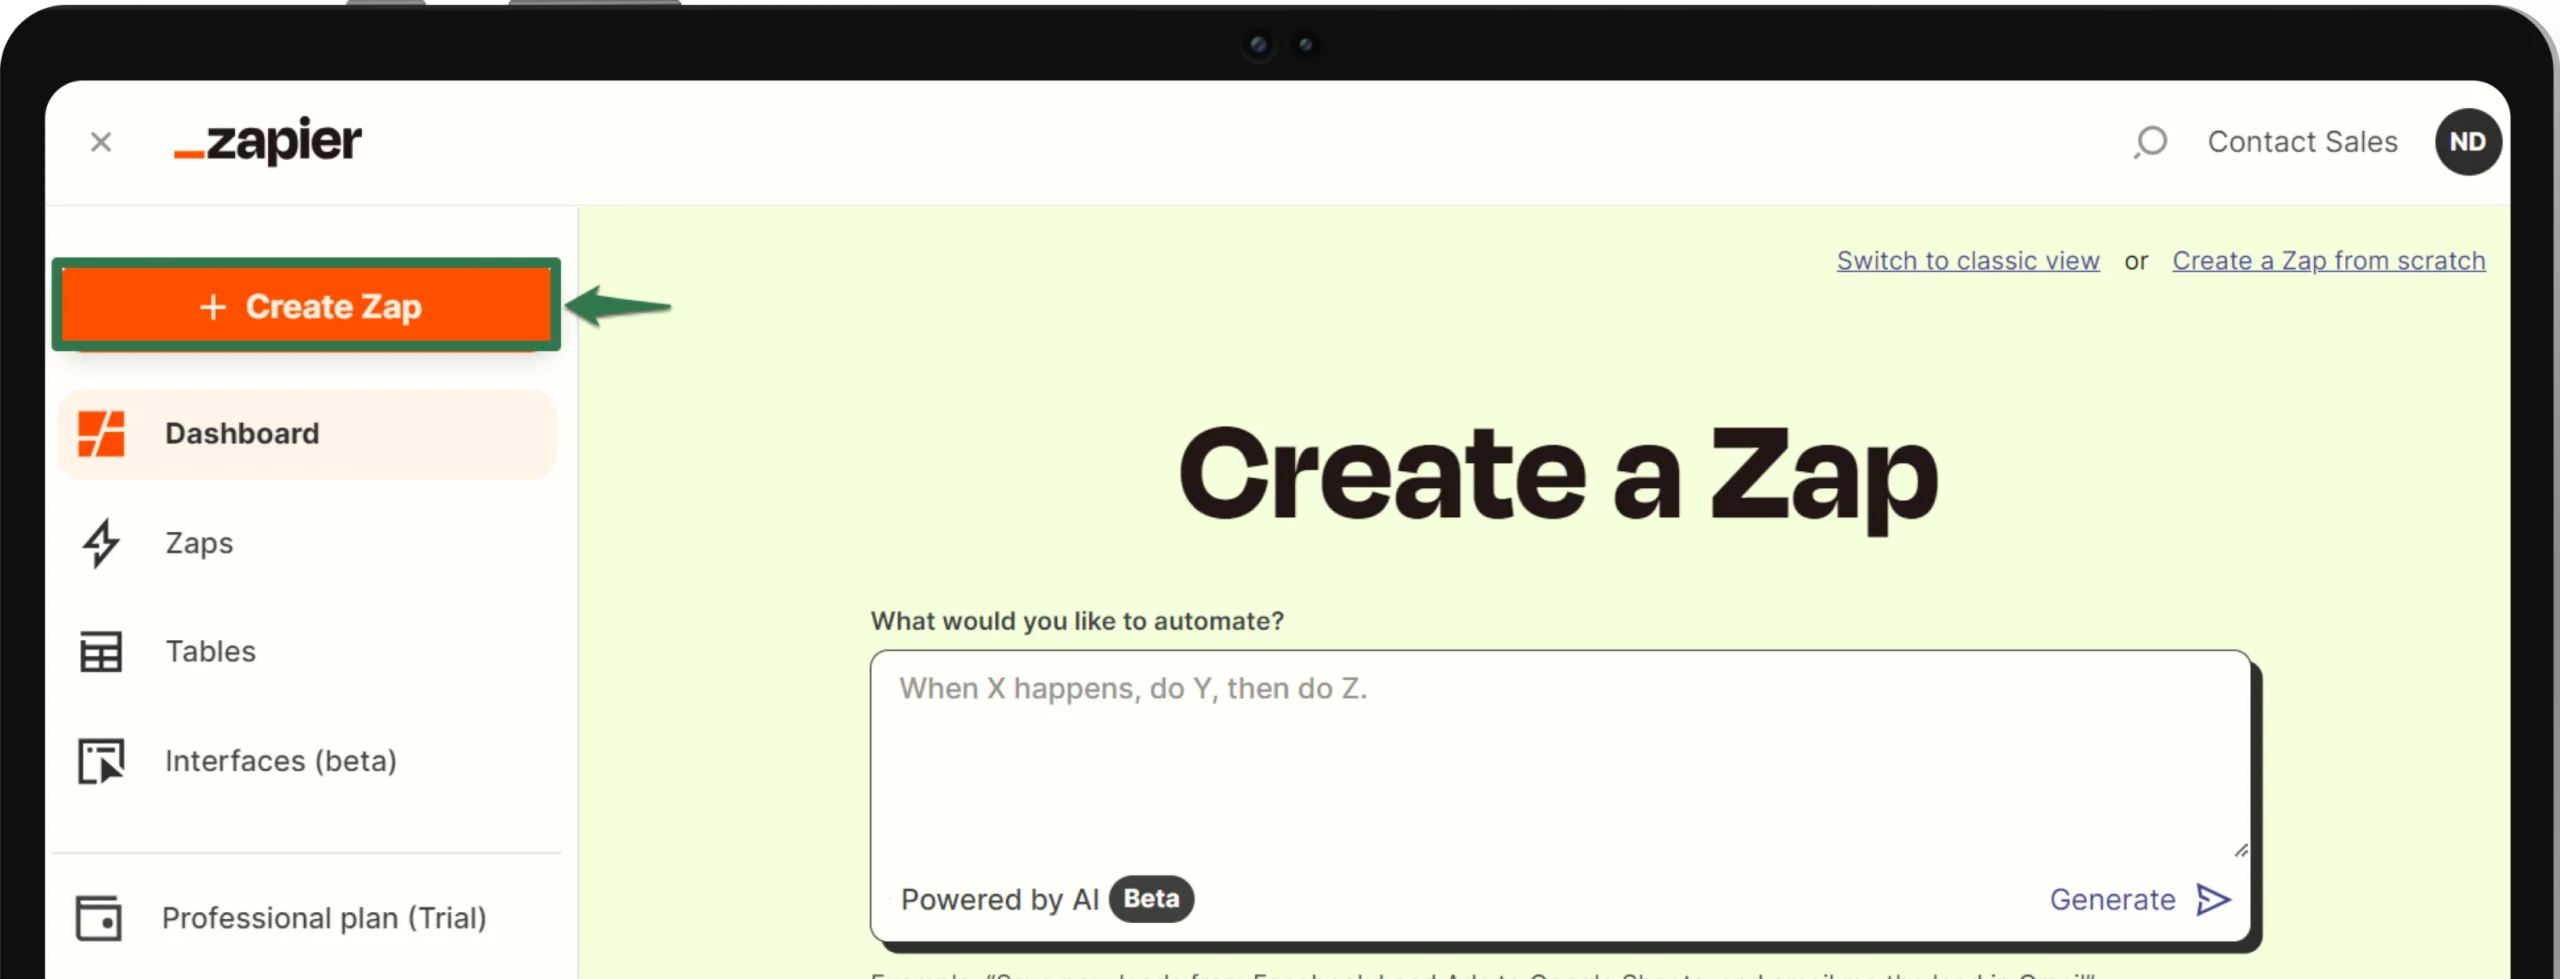
- Click on ‘ + Create Zap‘ to start building your automation.
Step 2 – Set Trigger App and Event
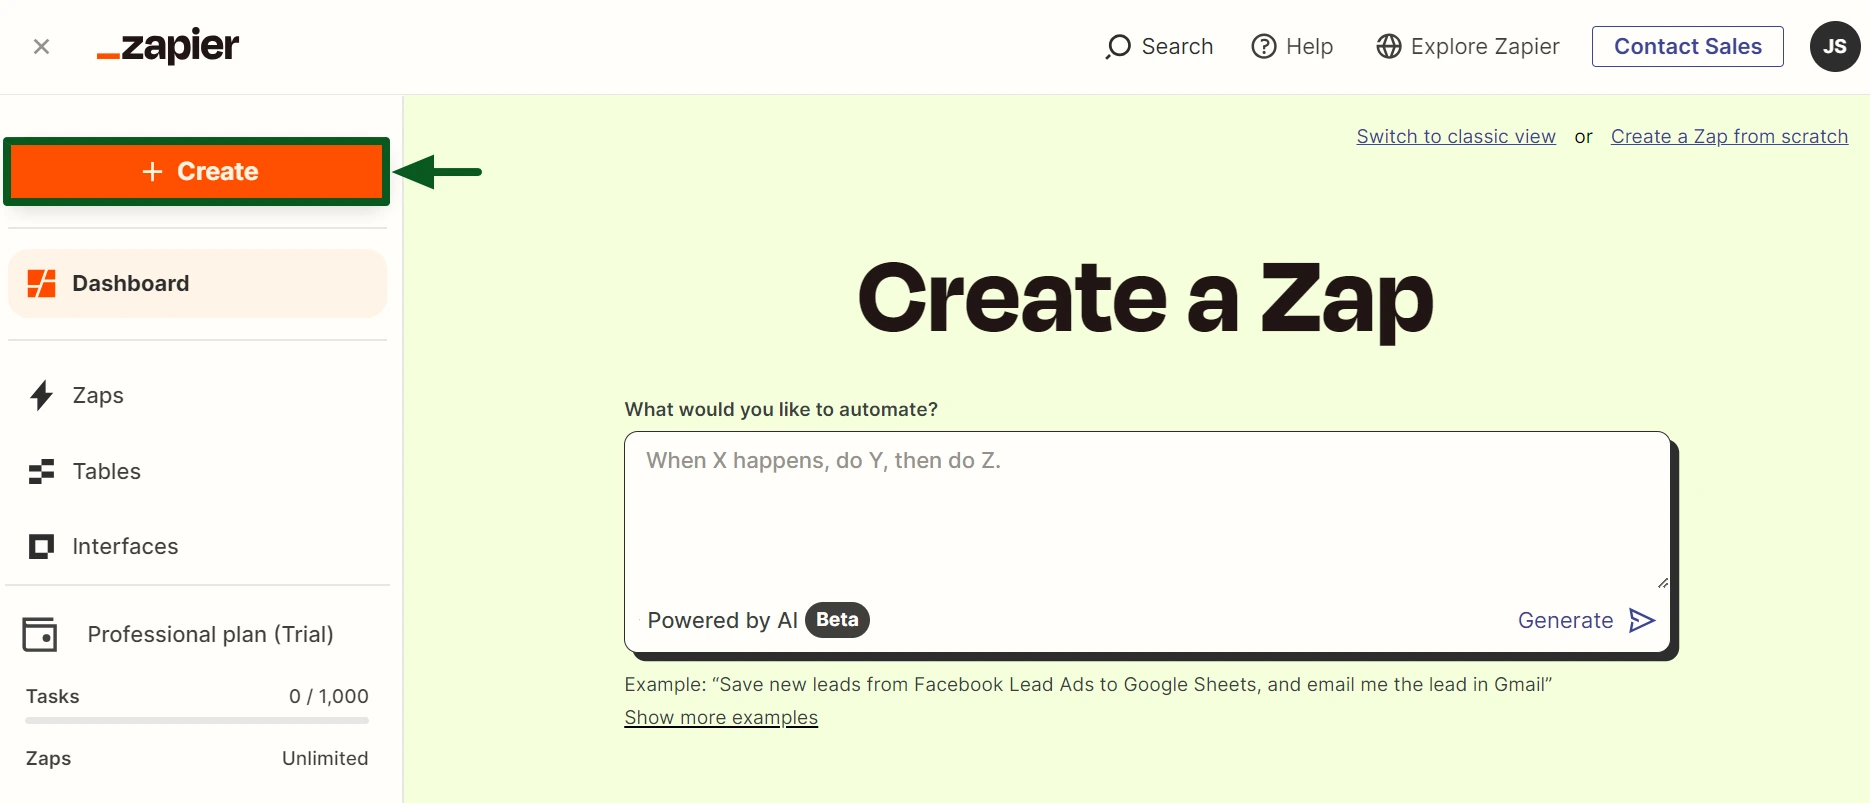
- Choose ‘Salesforce‘ as the trigger App.
- To continue, choose ‘New Record‘ as an event, this initiates the Zap.
- Click on the ‘Continue‘ button.
Step 3 – Connect Your Salesforce Account
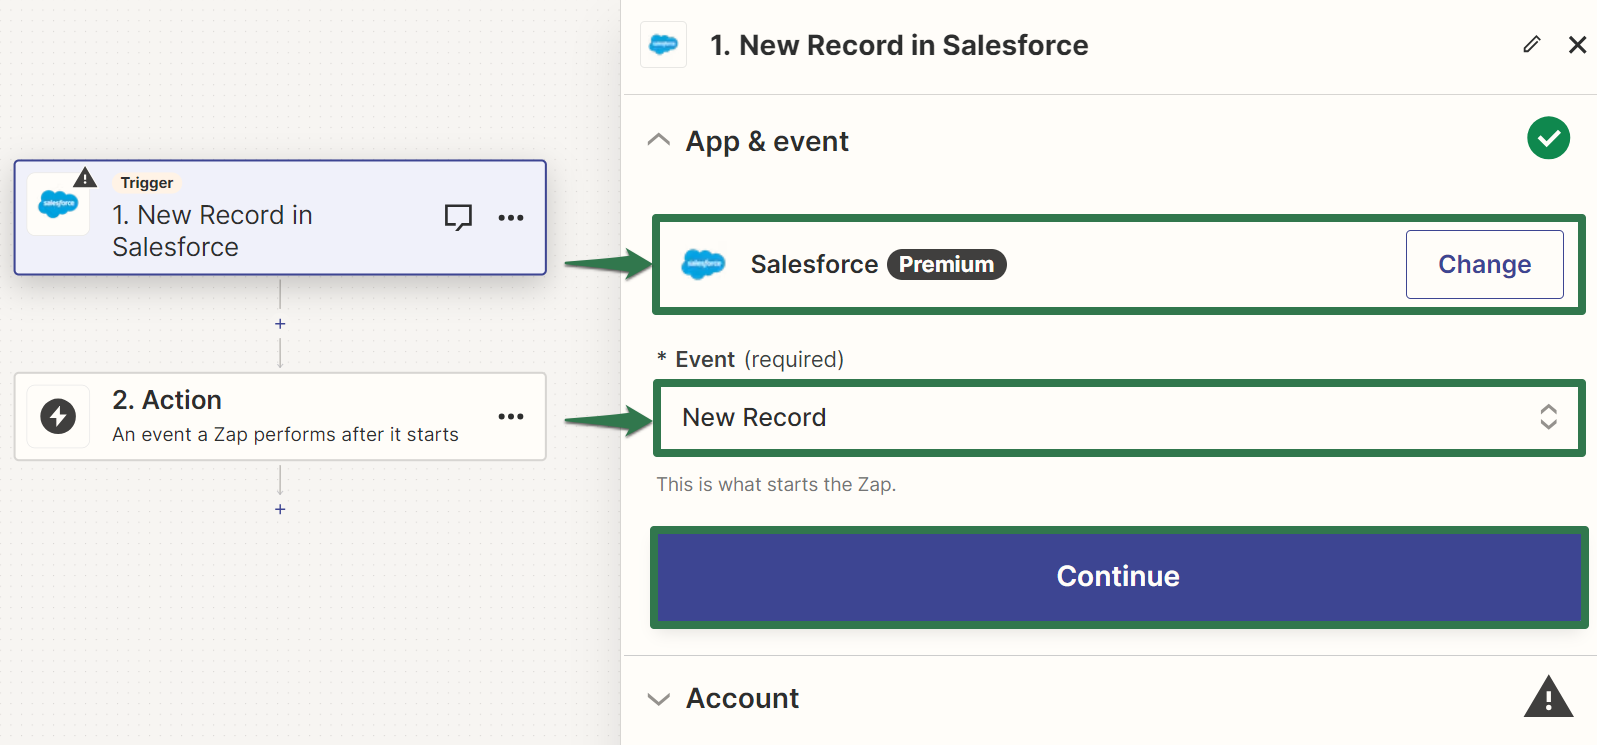
- Click on the ‘Sign In‘ button.
- Select the Salesforce environment as per your needs. You can connect Salesforce as either ‘Production‘ or ‘Sandbox‘.
- Click on the ‘Yes, Continue to Salesforce‘ button.
- Upon clicking, you will be redirected to the Salesforce login.
- Upon successfully logging in, you will be prompted to allow access, followed by connecting to Salesforce.
- Your Salesforce account is now connected.
- Click on the ‘Continue‘ button.
Step 4 – Configure Trigger Options
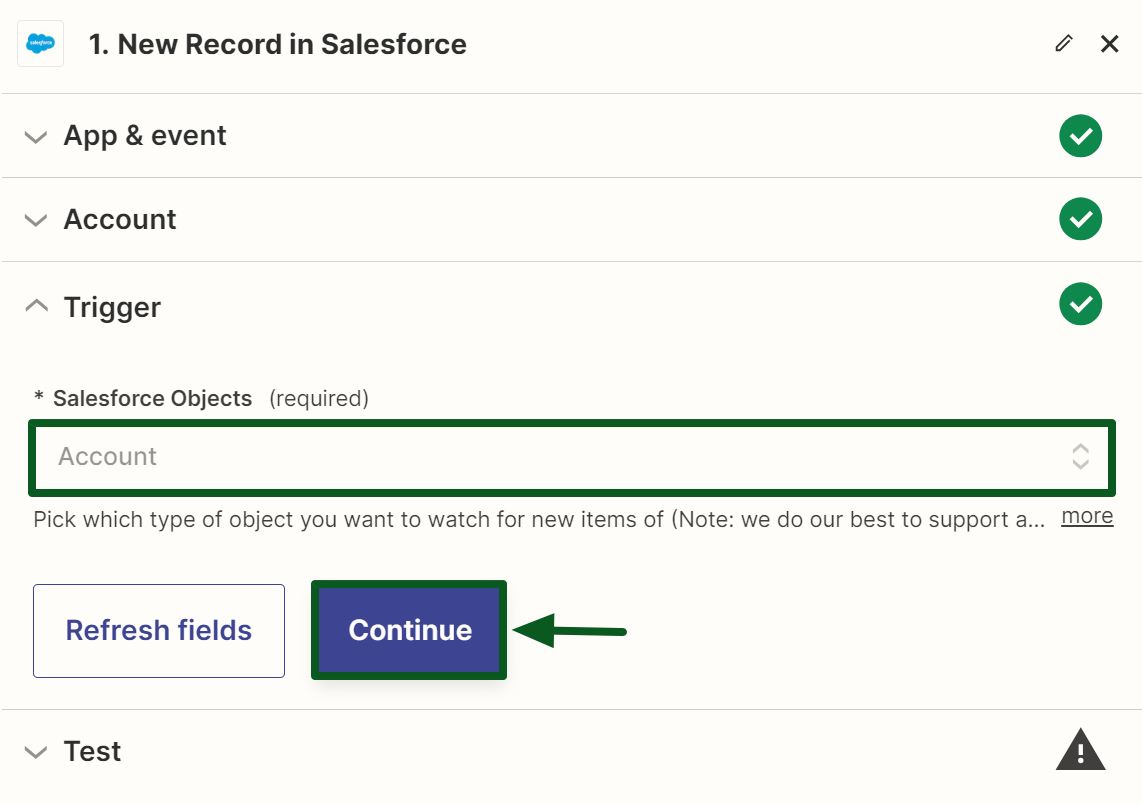
- Select ‘Account‘ as Salesforce Objects.
- Click on the ‘Continue‘ button.
Step 5 – Test your trigger
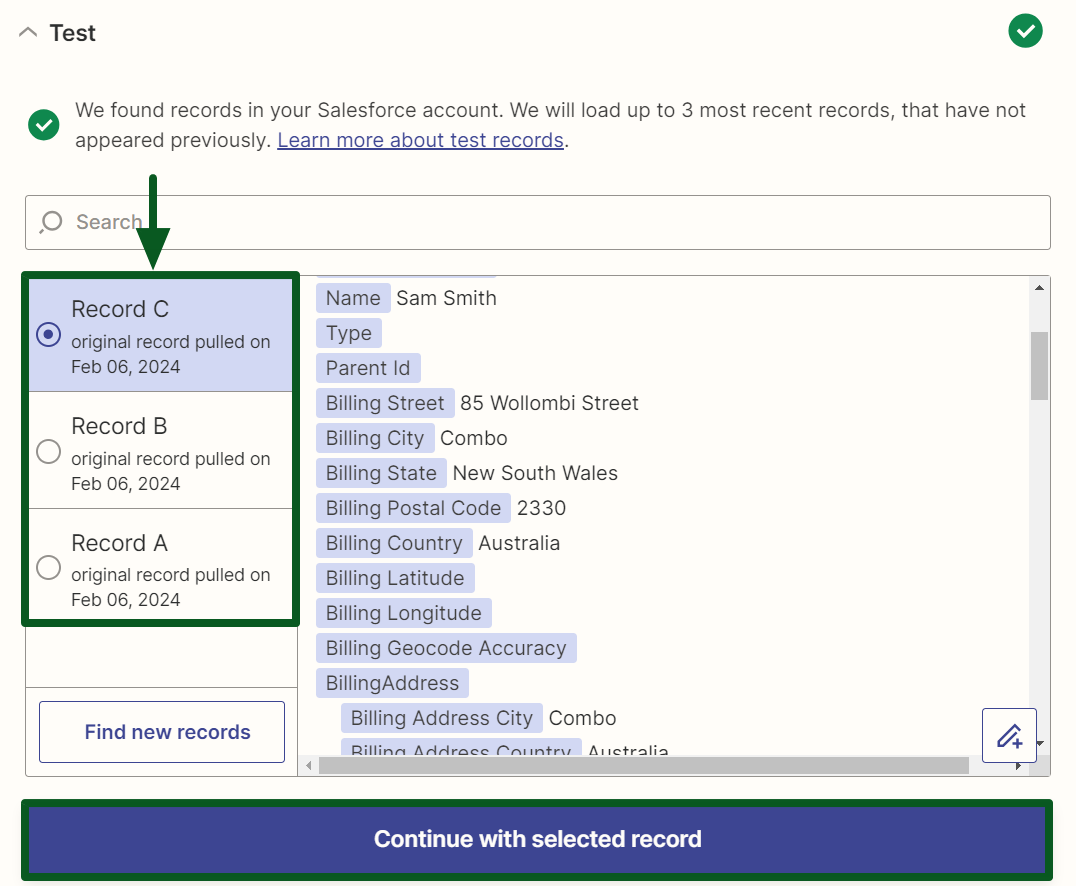
- Click on the ‘Test trigger‘ button. It will find recent records in your Salesforce account to confirm your trigger is set up correctly.
- The three most recent records will be loaded.
- Select any record from the list that you want to test.
- Click on the ‘Continue with selected record‘ button.
Step 6 – Choose an Action App and Event
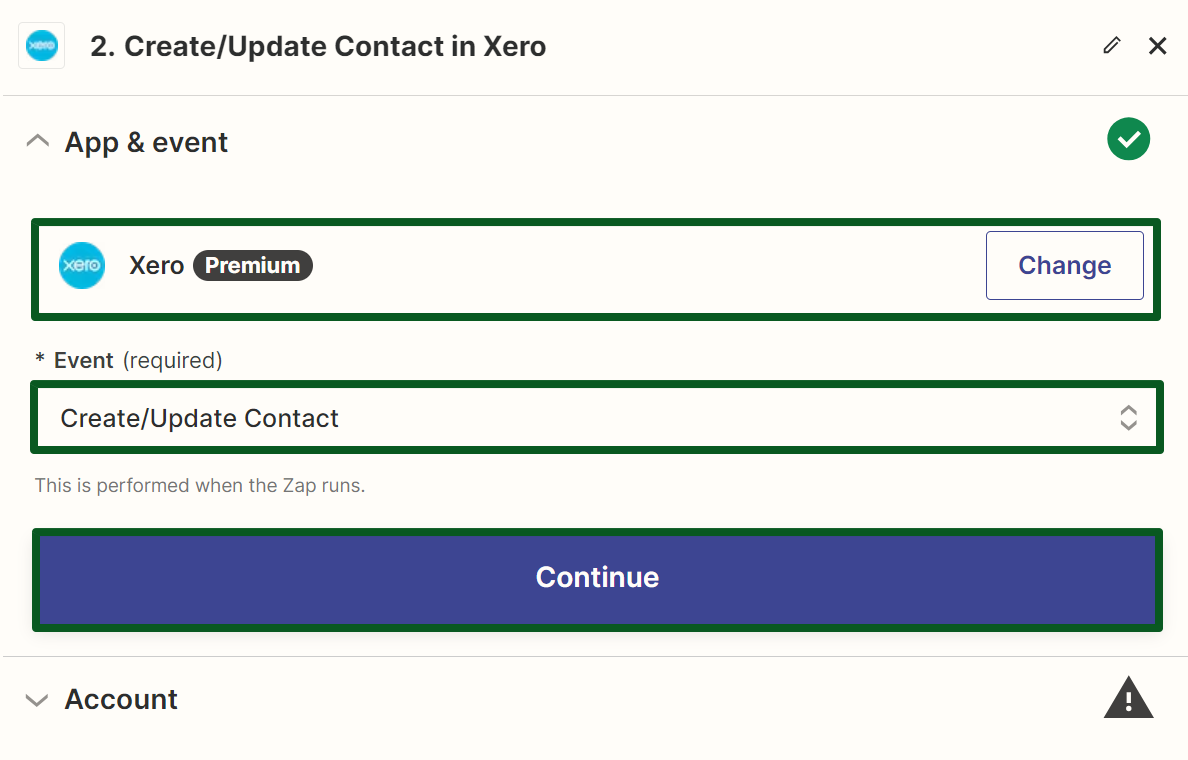
- Choose ‘Xero‘ as the Action App.
- To Continue, Choose ‘Create/Update Contact‘ as an event. This is performed when the Zap runs.
- Click on the ‘Continue‘ button.
Step 7 – Connect Xero
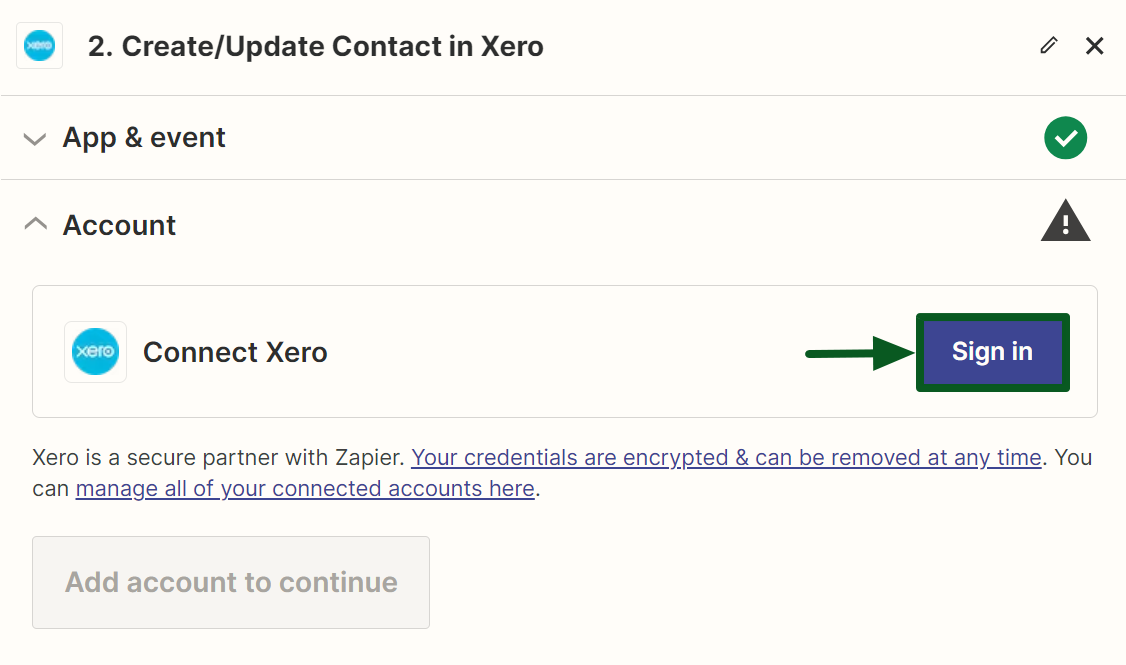
- Click on the ‘Sign In‘ button.
- Upon clicking, you will be redirected to the Xero login.
- After successful login, you will be prompted to allow access, followed by connecting to Xero.
- Your Xero account is now connected.
- Click on the ‘Continue‘ button.
Step 8 – Configure Action Options
- In text fields, you can use either ‘static values,’ which are the same every time the action runs, or ‘dynamic values,’ which change based on data from previous steps.
- To use a static value, enter the value into the field.
- To use a dynamic value, map a field from a previous step.
- To map fields when you set up your Zap action:
- Click on the field that you want to set up.
- In the dropdown menu, select one or more fields from a previous step that has the information you want to use.
- After mapping the required fields, click on the ‘Continue‘ button.
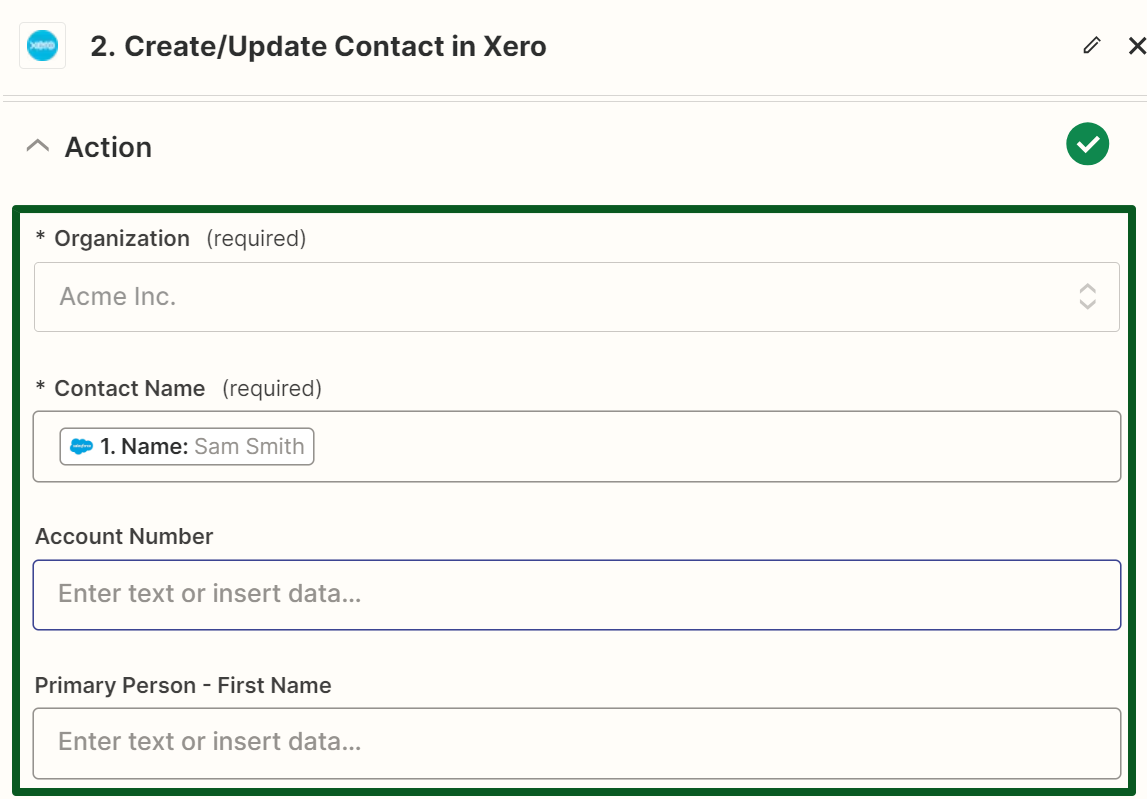
Step 9 – Test your Actions
- Click on the ‘Test step‘ button to verify whether your data moves between Salesforce and Xero according to your criteria.
- Here, we will test the action to accurately transfer the information from Salesforce to Xero.
- Once the test is successful, as shown below, click on the ‘Publish‘ button, which will turn on the Zap to initiate the automation.
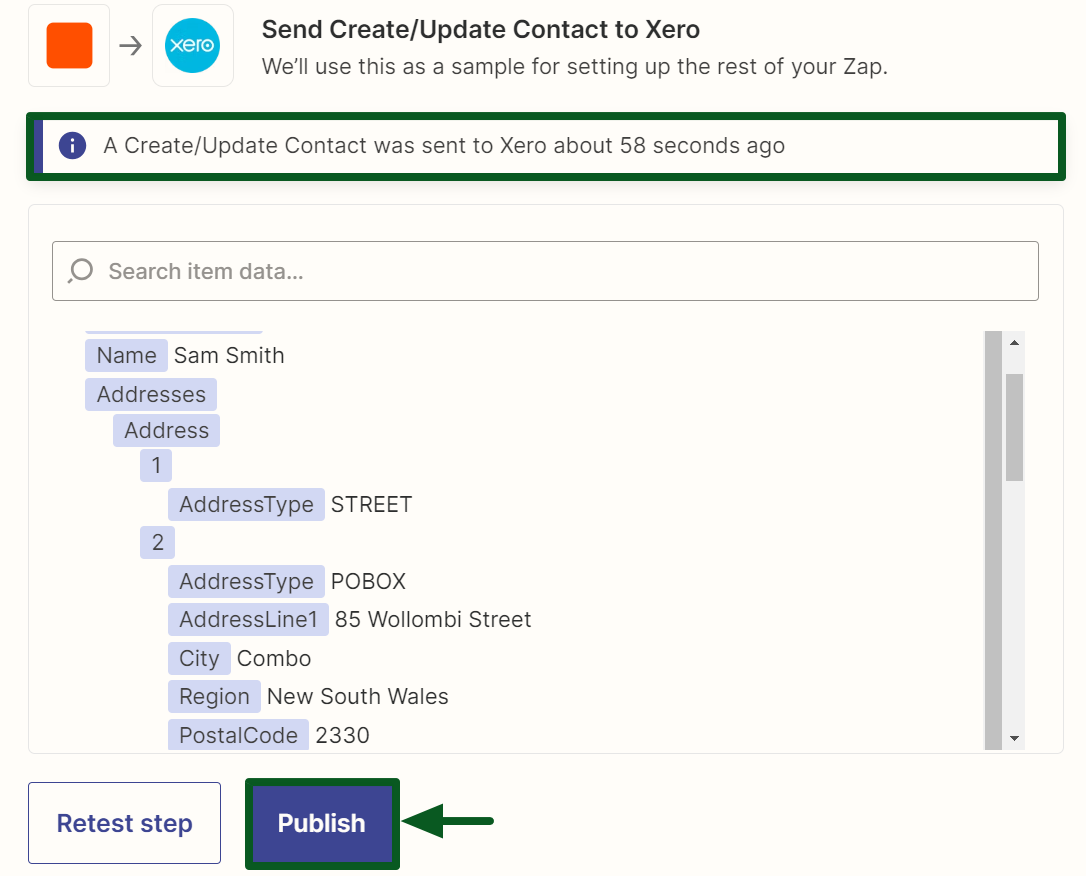
Now, you’ve successfully integrated Salesforce with Xero using Zapier. Every time a new Account appears in Salesforce, Xero automatically creates a corresponding entry.
Create a Salesforce Account from a Xero Contact
To get started with Zapier, you must log in or sign up at Zapier. Once you are done, you can start creating Zaps – the automated workflows that Zapier uses to connect your apps.
Step 1 – Create a New Zap
- Click on ‘ + Create Zap‘ to start building your automation.
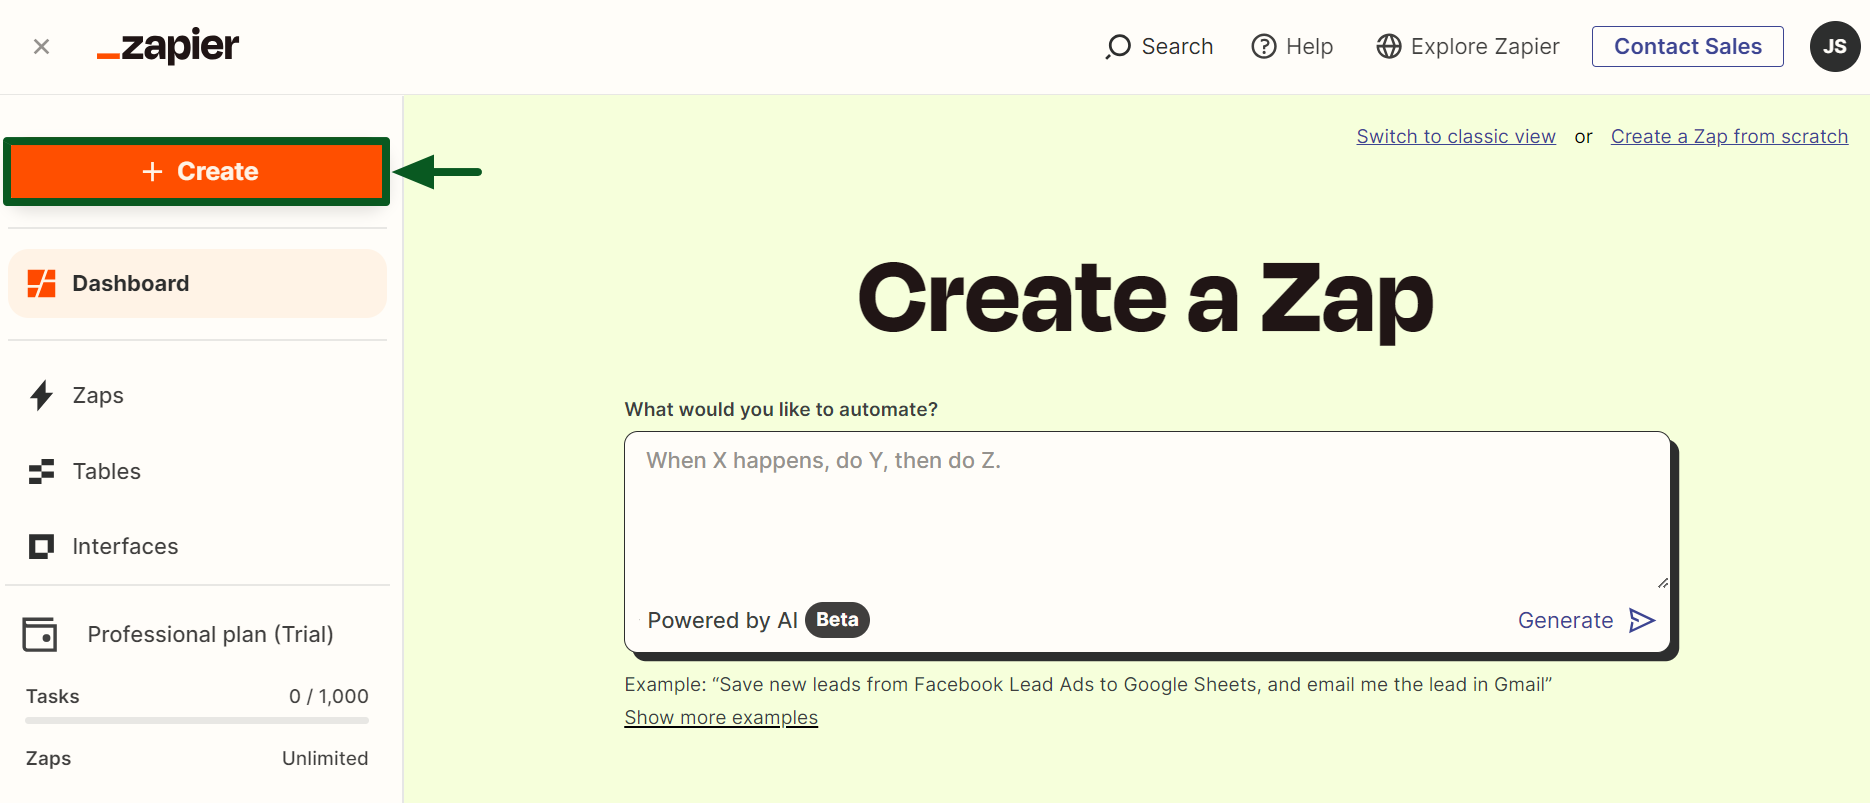
Step 2 – Set Trigger App and Event
- Choose ‘Xero‘ as the trigger App.
- To continue, choose ‘New Contact‘ as an event, and this initiates the Zap.
- Click on the ‘Continue‘ button.
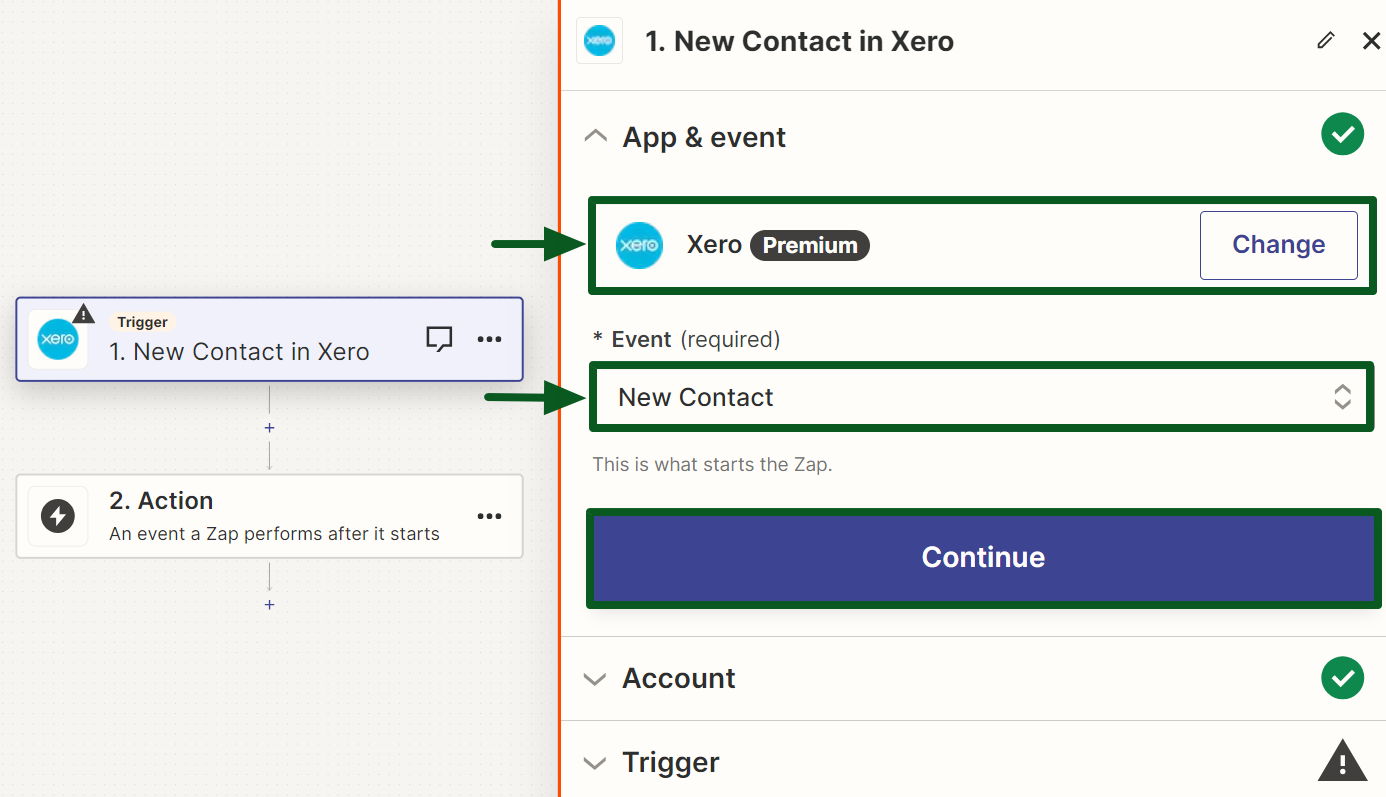
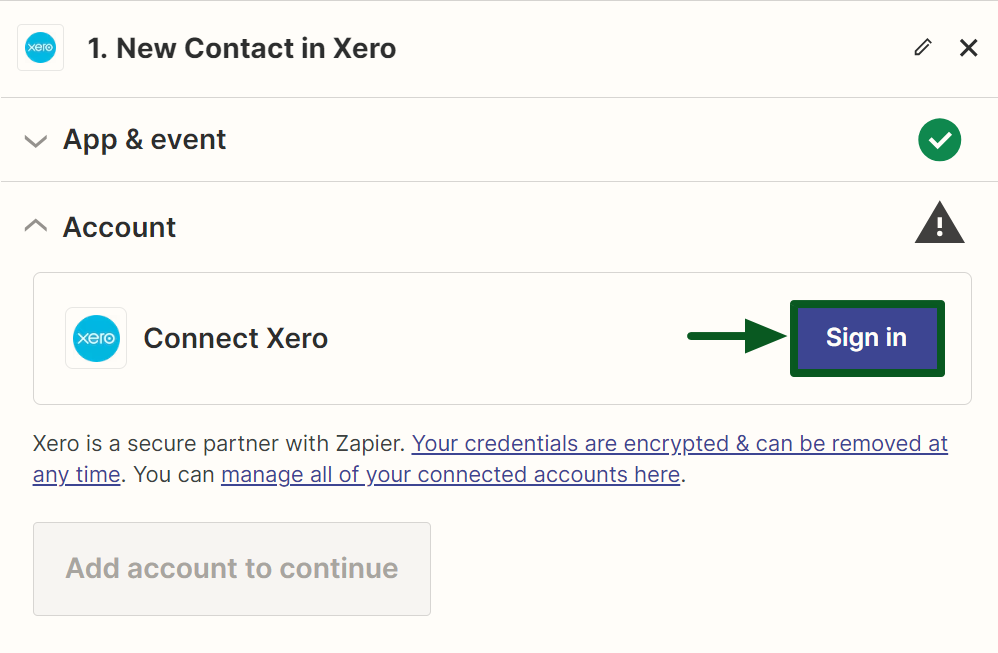
Step 3 – Connect Xero
- Click on the ‘Sign In‘ button.
- Upon clicking, you will be redirected to the Xero login.
- After successful login, you will be prompted to allow access, followed by connecting to Xero.
- Your Xero account is now connected.
- Click on the ‘Continue‘ button.
Step 4 – Test your trigger
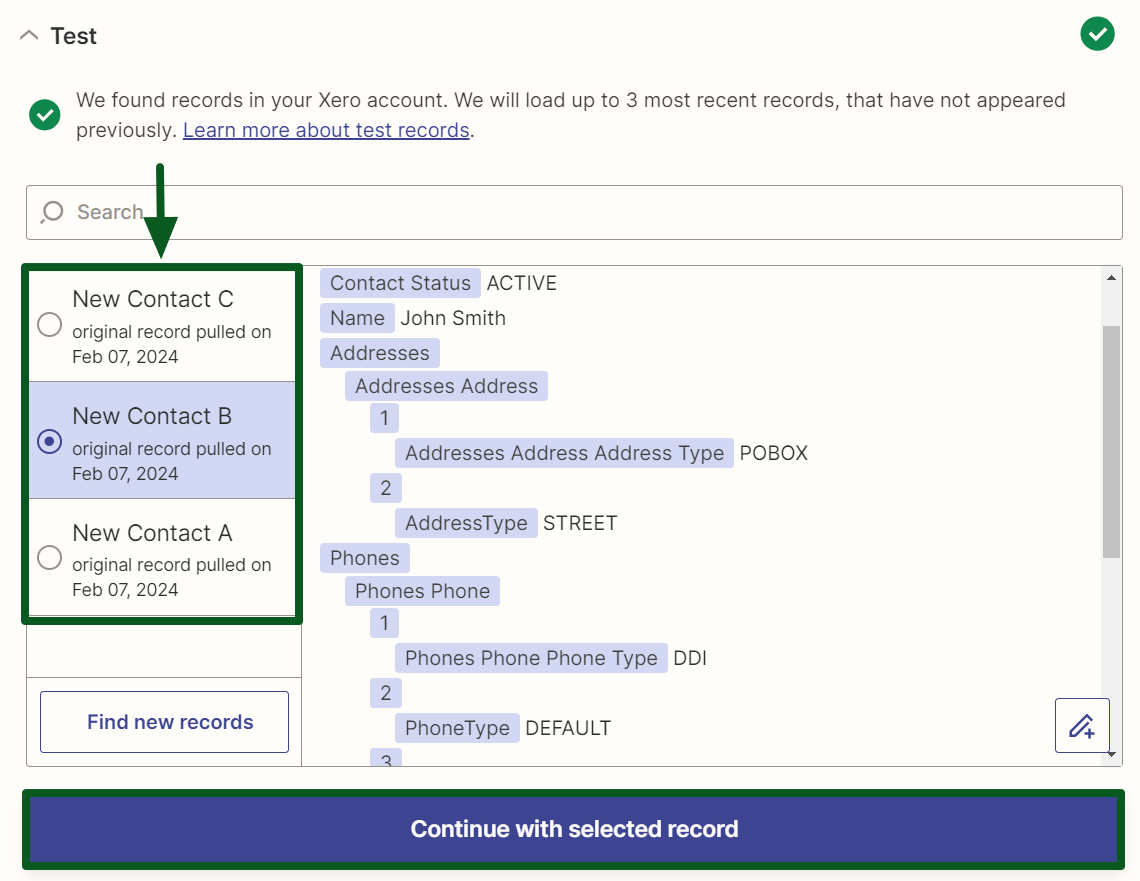
- Click on the ‘Test trigger‘ button and choose the Xero Organization.
- It will find a recent record in your Salesforce account to confirm your trigger is set up correctly.
- The three most recent records will be loaded.
- Select any record from the list that you want to test.
- Click on the ‘Continue with selected record‘ button.
Step 5 – Choose an Action App and Event
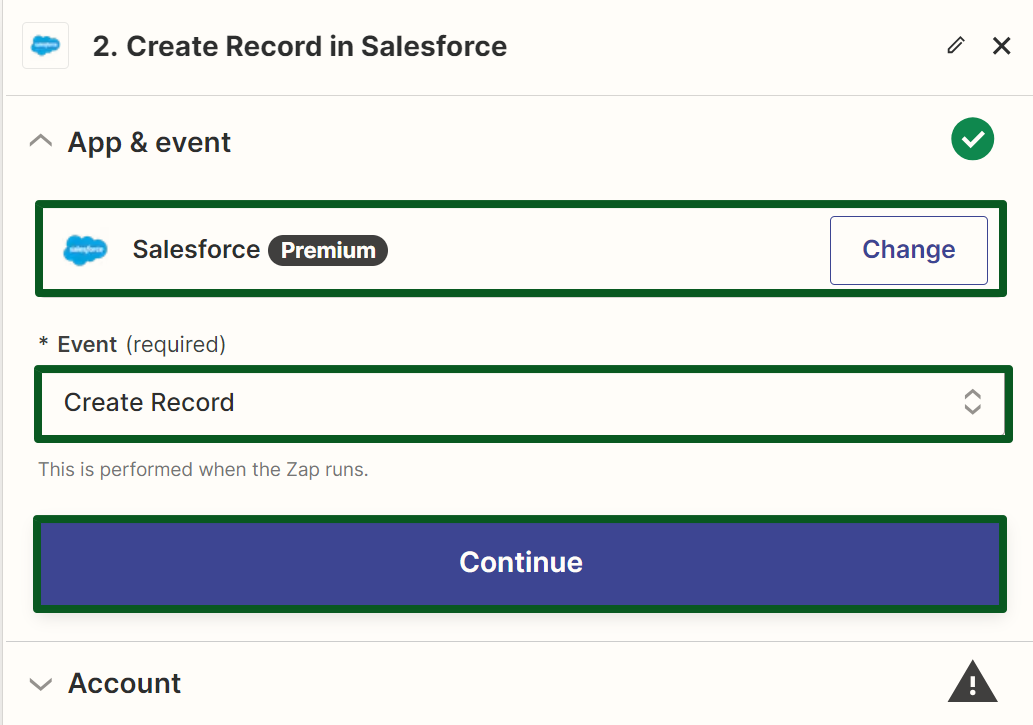
- Choose ‘Salesforce‘ as the Action App.
- To continue, Choose ‘Create Record‘ as an event. This is performed when the Zap runs.
- Click on the ‘Continue‘ button.
Step 6 – Connect Your Salesforce Account
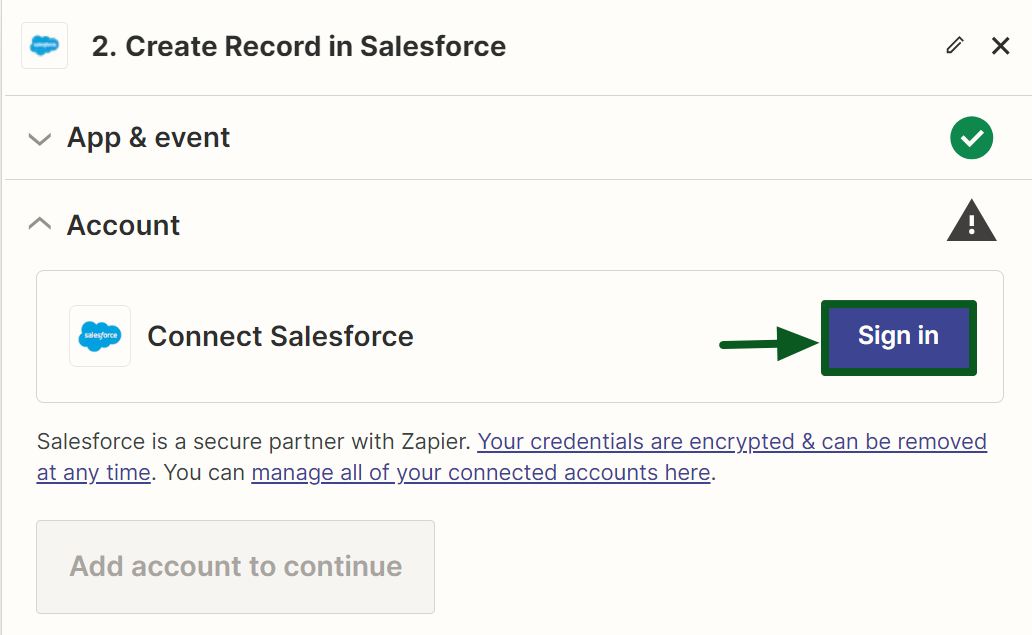
- Click on the ‘Sign In‘ button.
- Select the ‘Salesforce environment‘ that meets your needs. You can connect Salesforce as either ‘Production‘ or ‘Sandbox‘.
- Click on the ‘Yes, Continue to Salesforce‘ button.
- Upon clicking, you will be redirected to the Salesforce login.
- You will be prompted to allow access upon successfully logging in, followed by connecting to Salesforce.
- Your Salesforce account is now connected.
- Click on the ‘Continue‘ button.
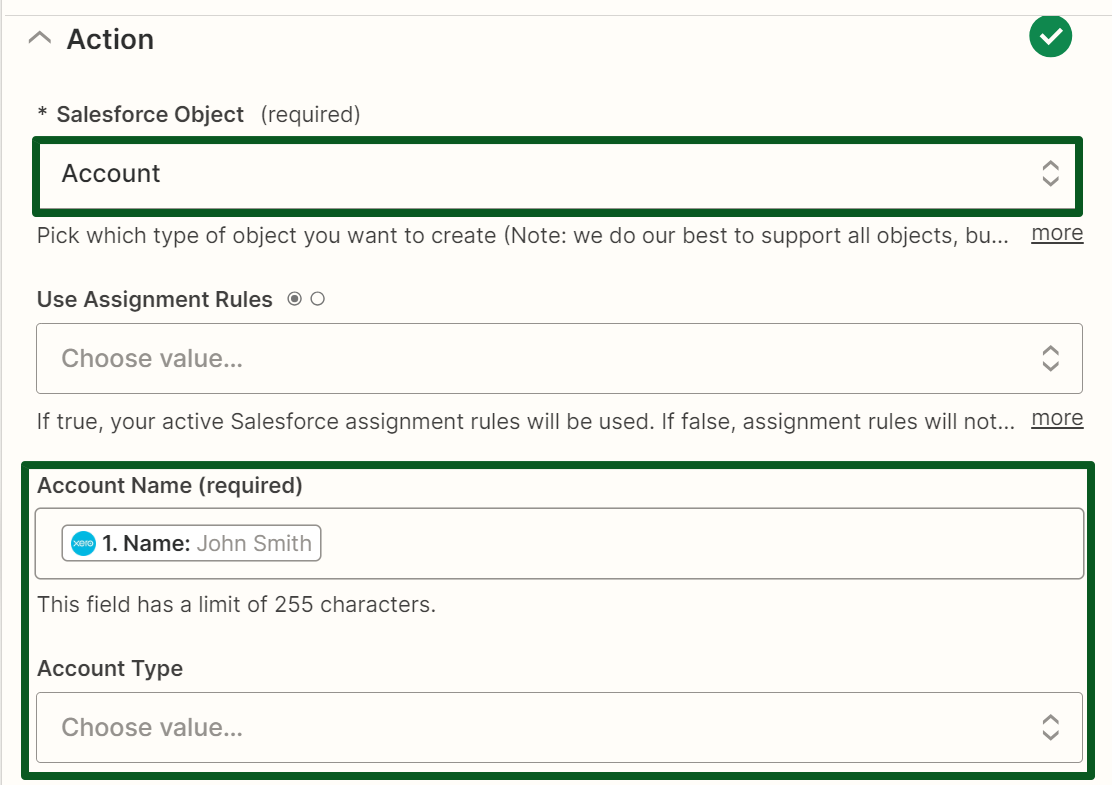
Step 7 – Configure Action Options
- Choose ‘Account‘ as the Salesforce Object.
- In text fields, you can use ‘static values,’ which are the same every time the action runs, or ‘dynamic values,’ which change based on data from previous steps.
- To use a static value, enter the value into the field.
- To use a dynamic value, map a field from a previous step.
- To map fields when you set up your Zap action:
- Click on the field that you want to set up.
- In the dropdown menu, select one or more fields from a previous step that has the information you want to use.
- After mapping the required fields, click on the ‘Continue‘ button.
Step 8 – Test your Actions
- Click the ‘Test step‘ button to verify whether your data moves between Salesforce and Xero according to your criteria.
- Here, we will test the action to transfer the information from Xero to Salesforce accurately.
- Once the test is successful, as shown below, click the ‘Publish‘ button, which will turn on the Zap to initiate the automation.
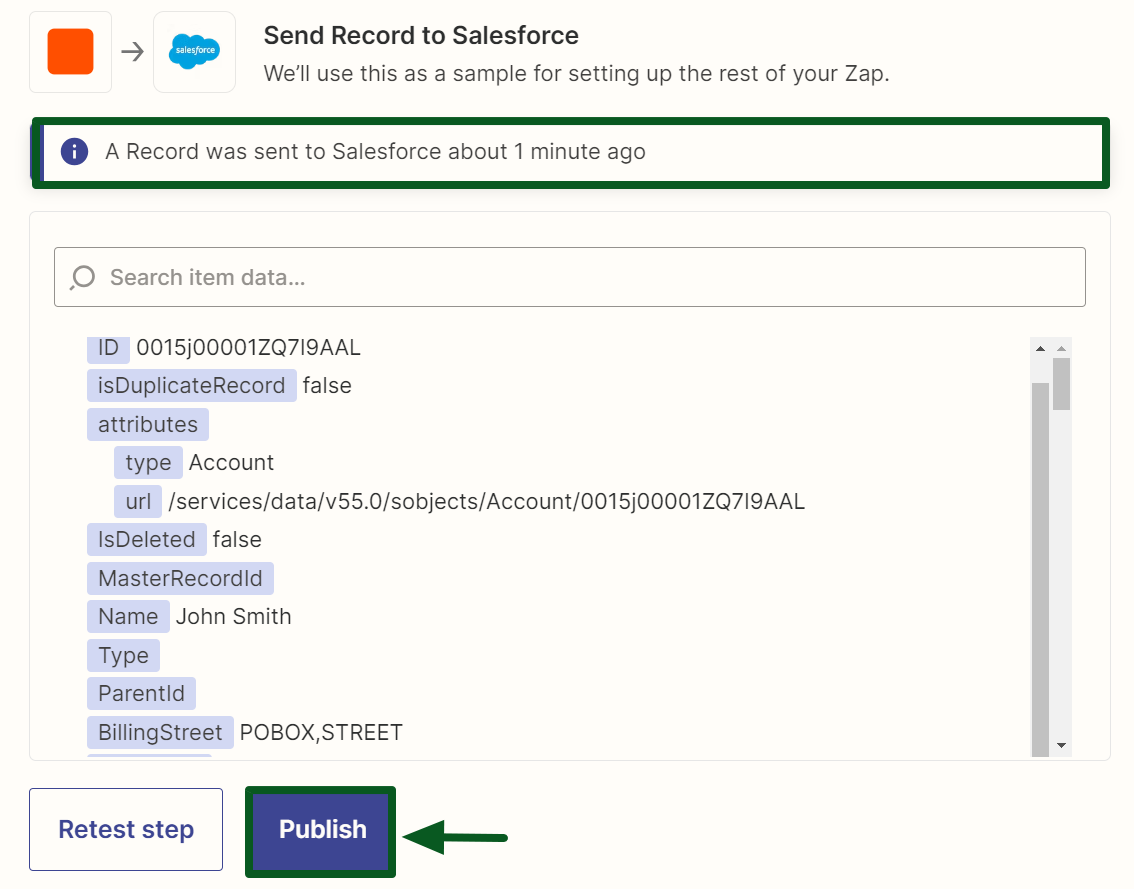
Now, you’ve successfully integrated Salesforce with Xero using Zapier. Every time a new Contact appears in Xero, Salesforce automatically creates a corresponding entry.
Frequently Asked Questions (FAQ’s)
What is Zapier?
Zapier is a web-based automation tool that allows you to connect and automate tasks between different web applications. It creates “Zaps,” which are automated workflows that connect two or more apps without building the integration.
What is a Zap?
A Zap is an automated workflow that connects your apps and services. Every Zap consists of a trigger step (“when this happens…”) and one or more action steps (“then do this…”). After you turn your Zap on, it will run the action steps every time the trigger event occurs.
What is the Zap Editor?
The Zap editor is the tool you can use in the Zapier dashboard to set up the trigger and action(s) in your workflow.
What is a trigger?
A trigger is the event that starts a Zap. After you’ve turned on your Zap, Zapier will watch for that event to happen in the app you specify.
What is an action?
An action is the job your Zap performs after your trigger event occurs. A Zap can have only one action or multiple actions (up to 100).
Does Zapier support two-way sync between apps?
Zapier does not currently support two-way syncing between apps. However, in certain scenarios, you can simulate two-way syncing by setting up two different Zaps that perform opposite actions. For example, you could have one Zap that creates a QuickBooks customer from a Salesforce account and another that creates a new account from a QuickBooks customer.
How many zaps do you get for free?
The free plan includes 5 Zaps and a 15-minute update time. The update time is how often Zapier checks your data to see if your Zap needs to run. Free users can have up to 100 tasks per month.
Do I need coding skills to use Zapier?
No, Zapier is designed to be user-friendly, and you don’t need coding skills to create Zaps. The platform provides a user-friendly interface for setting up automated workflows through a step-by-step process.
Can I get support if I encounter issues with Zapier?
Yes, Zapier provides customer support through its help center, documentation, and community forums.
